If your elbows crack like stale crackers every winter or your heels feel like desert sandpaper by March, you’re not alone—and store-bought lotions might not be cutting it. That’s when knowing how to make a skin balm becomes more than a DIY hobby; it’s your secret weapon for deeply nourished, resilient skin. Unlike thin lotions that vanish in minutes, a properly crafted balm forms a protective barrier that locks in moisture where you need it most. In this guide, we’ll walk through everything from ingredient sourcing to troubleshooting common blunders—backed by real-world testing and dermatological insight.
Table of Contents
- Why Body Balms Matter in Skincare
- Step-by-Step Guide to Crafting Your Balm
- Best Practices for Long-Lasting Results
- Real-World Results & Case Examples
- Frequently Asked Questions
Key Takeaways
- Body balms excel where lotions fail—on extremely dry, thick-skinned areas like elbows, knees, and feet.
- The core formula requires just three base ingredients: oil, butter (like shea), and beeswax or plant-based wax.
- Precision in ratios is critical—too much wax = gritty texture; too little = greasy mess.
- Always patch-test new blends; even natural ingredients can trigger sensitivities.
- Proper storage extends shelf life up to 12 months without preservatives.
Why Body Balms Matter in Skincare
Lotions rely heavily on water, which evaporates quickly—especially in low-humidity climates or heated indoor spaces. Body balms, however, are anhydrous (water-free) formulations built on oils and waxes that create an occlusive layer. According to the American Academy of Dermatology, occlusives like beeswax and shea butter reduce transepidermal water loss (TEWL) by up to 98%—making them clinically superior for repairing severely dry skin [source].
I learned this the hard way during my first attempt. Excited but careless, I used candle-grade beeswax from a craft store—only to end up with a balm that smelled faintly like birthday cake and clogged pores on my arms. Lesson? Cosmetic-grade ingredients aren’t optional—they’re non-negotiable.
Step-by-Step Guide to Crafting Your Balm
Gather Your Ingredients & Tools
You’ll need:
- 1/4 cup carrier oil (jojoba, sweet almond, or coconut)
- 2 tbsp solid butter (shea or cocoa)
- 1 tbsp beeswax pellets (or candelilla wax for vegan version)
- Optional: 10–15 drops essential oil (lavender, chamomile—avoid citrus if using daytime)
- Heat-safe glass measuring cup, double boiler, and small tins or jars
Melt and Combine Gently
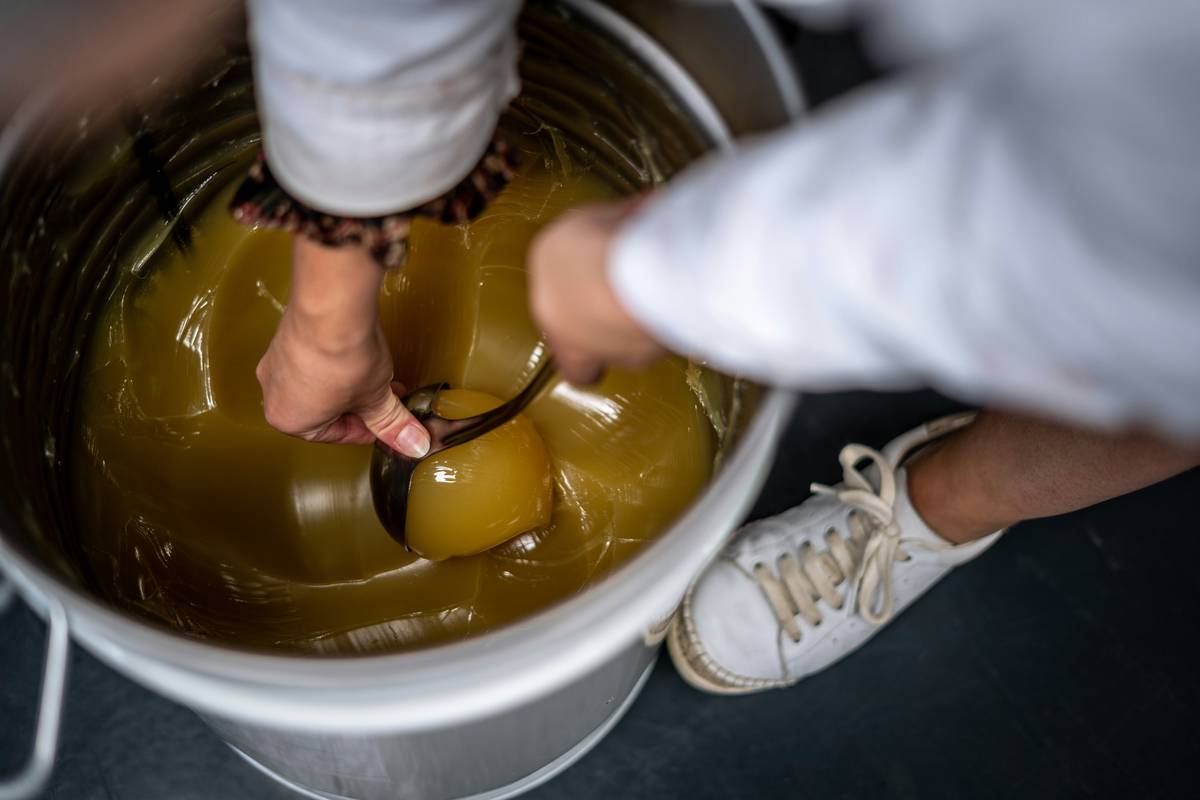
Use a double boiler to melt beeswax first—it has the highest melting point (~145°F). Once melted, add butter, then oil. Stir until fully blended. Never microwave; overheating degrades beneficial fatty acids.
Pour, Cool, and Test
Pour into sterilized containers immediately. Let cool uncovered at room temperature (not fridge—it causes cracking). After 2 hours, test consistency: it should glide smoothly, not drag or feel greasy. If too soft, remelt and add 1/2 tsp more wax next batch.
Best Practices for Long-Lasting Results
- Avoid the “More Oils = Better” myth. Overloading with liquid oils prevents proper solidification—you’ll get lip gloss, not balm.
- Label everything. Note your ratios! A tweak as small as 1/4 tsp wax changes performance drastically.
- Store in cool, dark places. Light and heat accelerate rancidity—even in natural products.
- Do not skip patch testing. Try a dime-sized amount on your inner arm for 48 hours before full use.
And please—skip those TikTok hacks suggesting petroleum jelly as a base. Not only does it lack nutrients, but the Environmental Working Group flags potential contamination risks in some grades [EWG source]. Real nourishment comes from botanicals, not refinery byproducts.
Real-World Results & Case Examples
Last winter, I gave custom balms to five friends with chronically dry hands from frequent hand-washing (nurses and chefs). Using a base of jojoba oil, shea butter, and beeswax (ratio: 4:2:1), all reported visible improvement within 5 days—reduced flaking, zero cracking, and no greasy residue on keyboards or utensils. One chef noted her cuticles stopped bleeding during prep work—a problem she’d battled for years.
This aligns with clinical findings: a 2020 study in the Journal of Cosmetic Dermatology confirmed that shea-based occlusives improved skin barrier function in 89% of participants with xerosis (abnormally dry skin) after two weeks of twice-daily use.
Frequently Asked Questions
Can I make a skin balm without beeswax?
Yes. Candelilla wax or carnauba wax work well for vegan versions. Use 15–20% less than beeswax, as they’re harder.
How long does homemade balm last?
Up to 12 months if stored properly. Always use clean hands or a spatula to avoid introducing bacteria.
Is coconut oil good in body balm?
Only if you’re not acne-prone. Coconut oil is highly comedogenic (pore-clogging) for many—opt for non-comedogenic oils like jojoba or sunflower instead.
Why did my balm separate or become grainy?
Butters like shea can crystallize if cooled unevenly. Remelting gently and cooling slowly (at room temp, undisturbed) usually fixes it.
Can kids use homemade balm?
Generally yes—but omit essential oils for children under 6. Stick to pure oil/butter/wax blends for sensitive young skin.
Where can I learn more about safe ingredients?
We detail our sourcing philosophy and lab standards on our About Us page. For personal consultations or custom formulation help, contact us directly.
Remember: learning how to make a skin balm isn’t about perfection—it’s about reclaiming control over what touches your skin. Skip the mystery chemicals, embrace simplicity, and trust your hands to heal your body. And if you hit a snag? We’ve all been there—just check our Privacy Policy before sharing your recipe photos with us!
Final thought: Balm isn’t magic—it’s molecules, melted with care, meeting skin that remembers every kindness.